视频教程:
https://www.bilibili.com/video/BV1UA4114773
前言
VScode是一个相当优秀的IDE,具备开源、跨平台、模块化、插件丰富、启动时间快、颜值高、可高度定制等等优秀的特质,不愧是微软爸爸的私生子。
所以用VScode来编写Python,也是相当的好用的。
所以,今天我们就来讲讲,怎么在VScode上配置Python开发环境。
软件准备
首先,我们必须先下载好Python的安装包和VScode的安装包。
下载地址如下:
Python:https://www.python.org/downloads/
VScode:https://code.visualstudio.com/
大家选择适合自己的版本下载即可。
我是Windows10 64位的操作系统,所以我Python下的是64位的最新版,VSco’de下载的是64位的最新版。
在这里我推荐大家选择Python3,而不是Python2.7,不过就算你下载的Python2.7此教程依旧适用。
软件安装
安装python
首先,我们安装Python到自己的电脑里。
切记,一定要记得勾选添加环境变量。
不然还得手动去配置python的环境变量。
具体的安装过程如图。
检查python是否安装成功
然后,我们需要检查下python是否安装成功。
检查方法如下:
1、打开cmd,输入python,点击回车。
2、输入import this,欣赏下python之禅。
3、退出、输入pip list,检查第三方的包正确不。
具体过程如图。
安装第三方的包
通过python自带的pip工具,安装两个一会儿配置VScode需要的包。
flake8和yapf
flake8会检查编写代码时的不规范的地方和语法错误。
yapf是一个代码格式化工具,可以一键美化代码。
安装过程如下:
1、在cmd输入pip list检查是否已存在需要的包
2、输入pip install flake8下载安装flake8
3、输入pip install yapf下载安装yapf
具体过程如图。
安装VScode
安装VScode就很简单了,一路NEXT就可以了。
如图所示:
配置VScode
安装python插件。
1、打开VScode,按下快捷键Ctrl+Shift+X,进入插件管理页面。
2、在搜索栏输入python。
3、选择插件,点击安装。

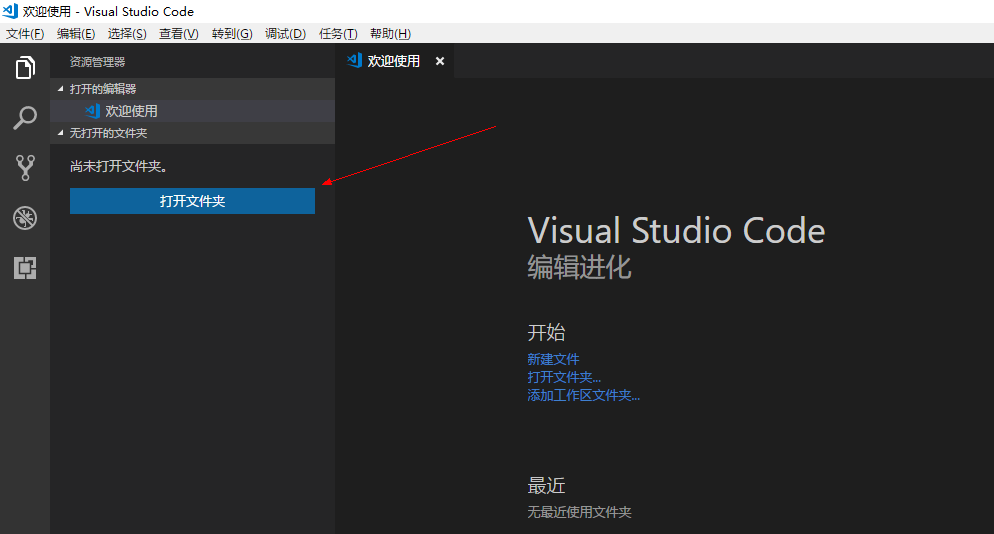
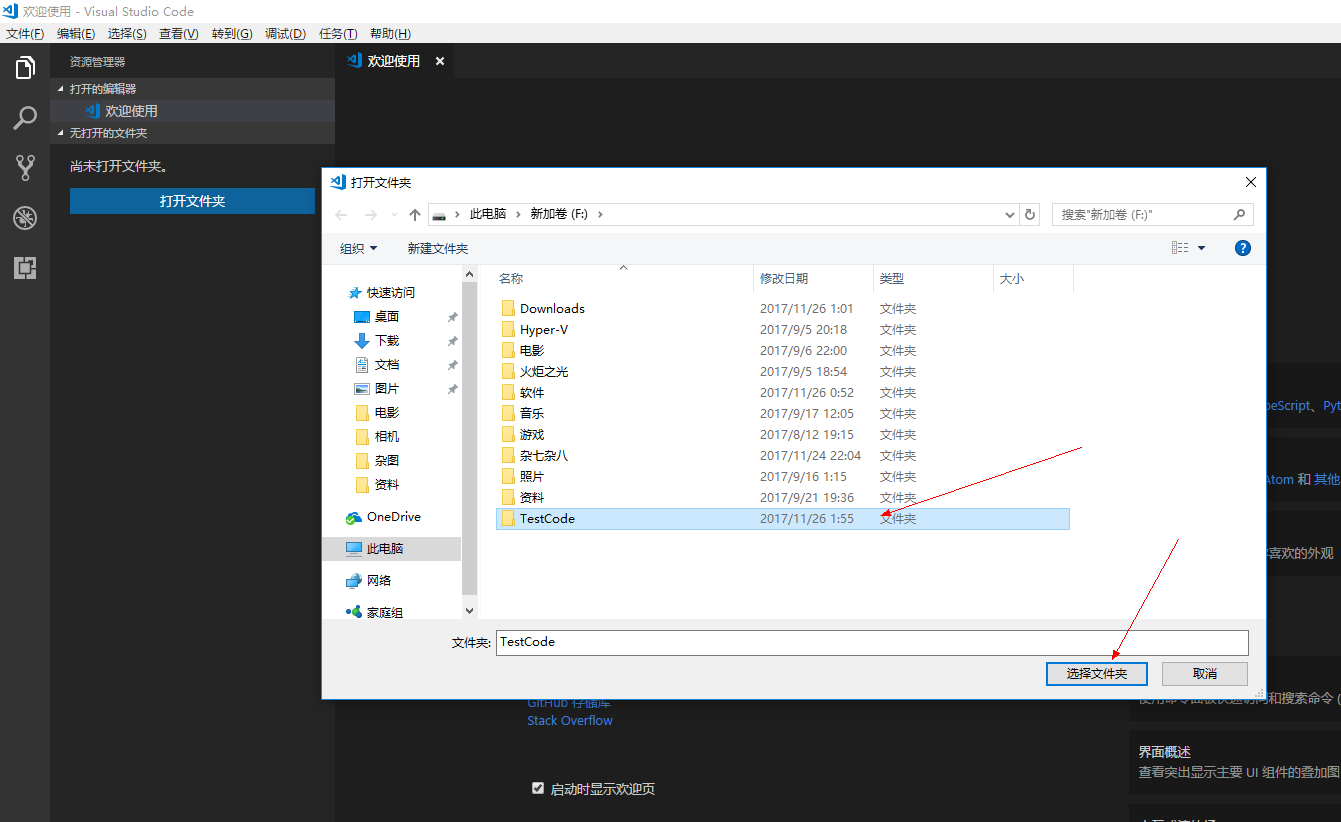
创建项目,配置工作区域
1、创建一个本地文件夹,作为项目文件。
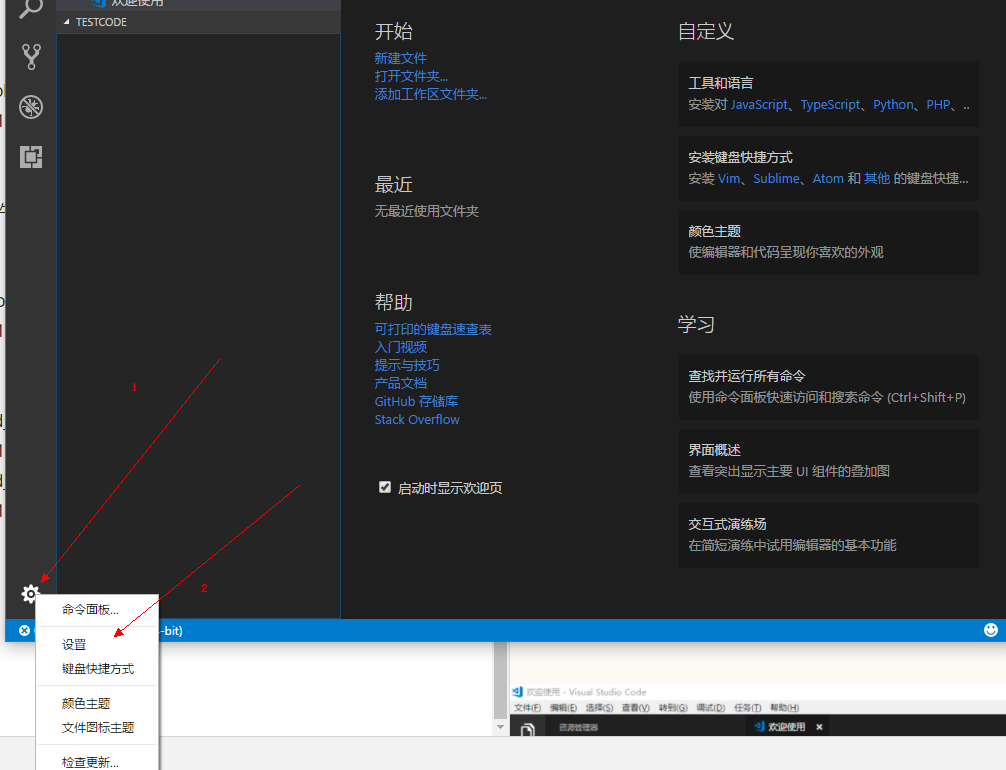
2、配置工作区域
点击设置,打开配置文件
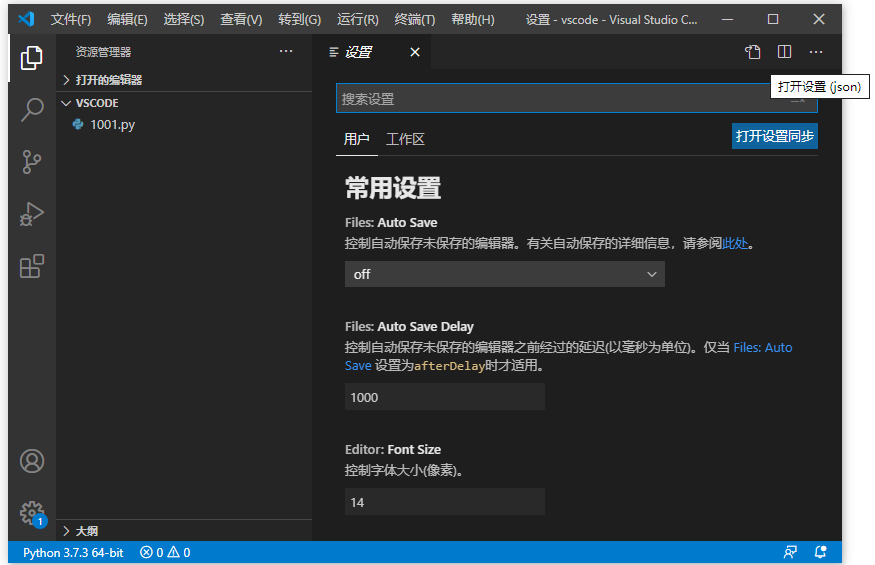
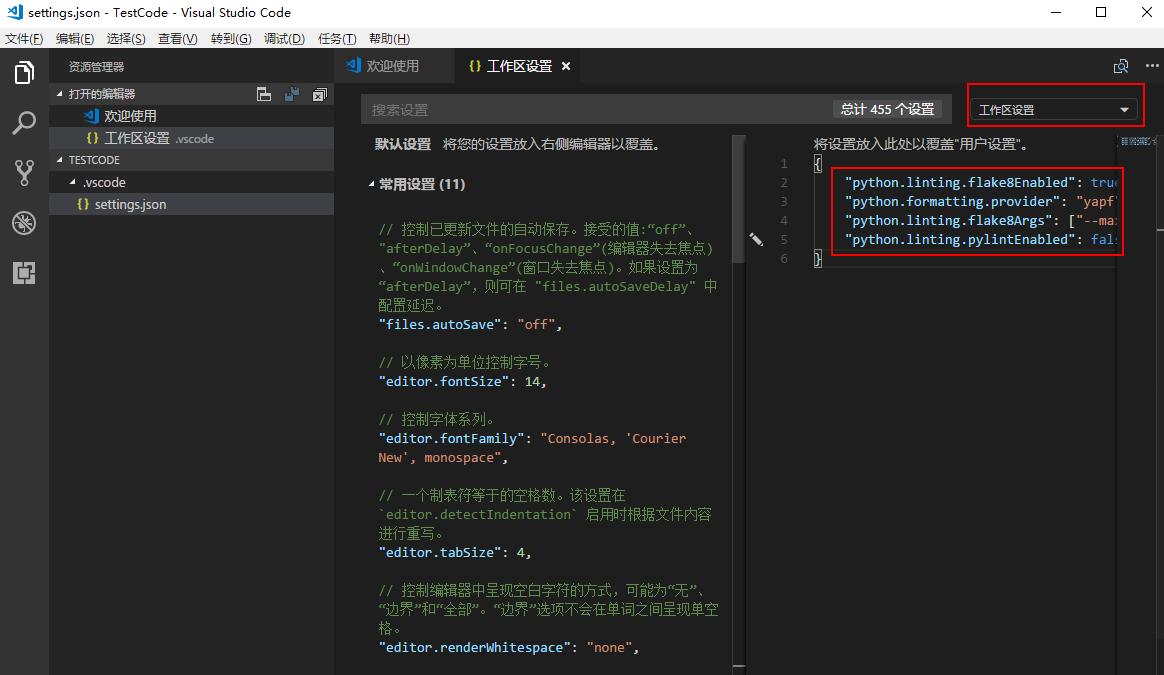
配置flake8和yapf并关闭pylint工具。
在工作区域输入以下内容:
{
    "python.linting.flake8Enabled": true,
    "python.formatting.provider": "yapf",
    "python.linting.flake8Args": ["--max-line-length=248"],
    "python.linting.pylintEnabled": false
}
如图所示:
3、编写python文件
新建一个python文件,输入一句
print("Hello VScode")
连续按两次F5执行文件。
如图所示:
4、配置python编译设置
连续按两次F5是不是特别不习惯,没事,我们来改掉它!
很简单只需要将launch.json文件的 “stopOnEntry”: true,改为 “stopOnEntry”: false。
如图所示:
代码格式化工具yapf
在VSCode中按下快捷键Alt+Shift+F即可自动格式化代码
操作起来特别简单,给大家简单的演示下。
如图: